

How Long Does It Take For Paint To Dry On A Car Bumper
Bumper painting and repair is one of the nearly usual processes at whatever bodyworkand paintshop as far as plastic repairs are concerned, due in part to where it is on the vehicle'southward body and because it is hands exposed to damage.
This role has evolved much over the concluding few years, both in terms of composition and shape.
In add-on to their aesthetics, bumpers take many aerodynamic and, higher up all, rubber functions, it being a disquisitional role absorbing impacts and mechanical force per unit area at low speed.
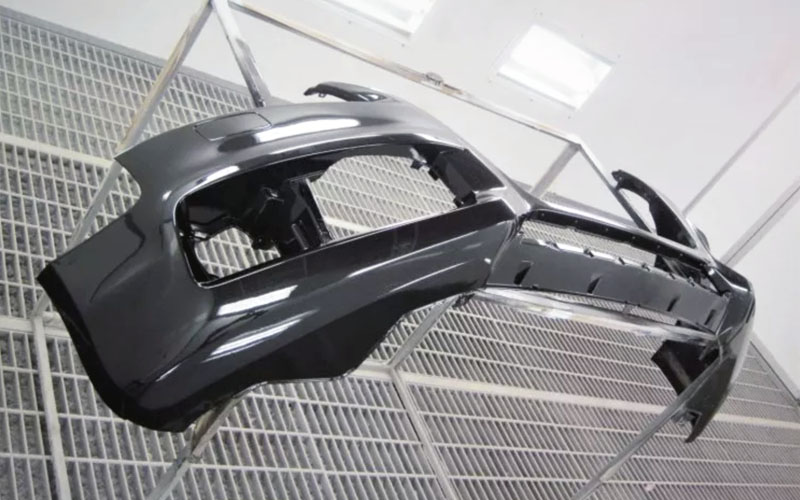
Today'southward bumpers use a large surface area in the front and rear of vehicles. The part's size and the type of finish (same colour as bodywork, textured, colour combination, etc.) will influence the painting procedure to be carried out.
Painting a bumper: possible scenarios
When painting a bumper, as it is a plastic role, you should take into business relationship a series of factors to ensure that it is correctly repaired. The flexibility of the part, its adhesion, mechanical stress or its chemic resistance are factors that volition influence its treatment and painting.
To achieve the all-time possible result, always follow the indications provided for specific processes and products involved in the painting of plastics ( plastic putties, adhesion promoters, textured pigment, etc.) established by a superlative-quality paint manufacturer such as SINNEK.
When repairing and painting a bumper, professionals can exist faced with different scenarios depending on the severity of the damage. Thus, for larger flaws, the entire bumper can be replaced with a newly manufactured part. In this instance, the training and repainting process will be different.
Nowadays, the vast majority of vehicle manufacturers supply replacement plastic parts with a pre-intermediate coat treatment (primer).
This way, professionals receive a role that is set up for the end paint to exist practical straight.
On the other paw, it could also happen that the new part lacks this pre-coat of primer, which in plough volition influence the painting process. An adhesion promoter or primer that optimises the anchoring of the subsequent coats will have to be applied.
In this tutorial, we will focus on a third possibility. A scenario where the bumper is partially damaged, or comparatively damaged to crave its replacement with a new function. In this case, the steps to be taken are every bit follows:
Steps to repair and paint a bumper
-
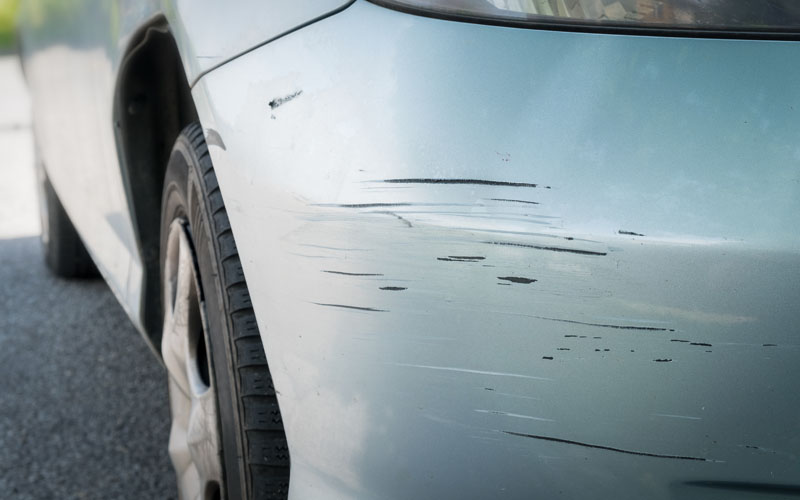
Prior assessment of impairment
Deep examination of the extent of the damage for a right option of repair process. In the example described, you will not need to use adhesives or weld the plastic. It is surface harm, and therefore does not touch the structure of the function. A good practice is to mark all flaws detected for amend decision-making the repair. -
Identify the type of plastic
You lot should identify the type of plastic the part is made of, since this will influence its adhesiveness to certain paints. To practice this, find the code corresponding to the type of plastic which will exist located on the part'southward inner side. This is an important step because, if the plastic is compatible with the adhesiveness of the filler to be used (data provided in the filler'south data sheet), it would not be necessary to apply an adhesion promoter beforehand. -
Thorough surface cleaning
Blow the surface with an air gun, and make clean it with soap and water. Then, degrease in depth with a special plastic degreaser to remove any surface substance adhered. -
Border sanding
Sand the edges of the damage with a P150 or P220 sandpaper and a sanding sponge to prepare the application of plastic putty. -
Air gun bravado and cleaning
Remove the sanding remains with an air gun, and clean the surface thoroughly once more. -
Applying adhesion promoter in open areas
If you reach the plastic part during the sanding procedure, cover the blank areas that bear witness the "live" plastic with a plastic adhesion promoter. This will enhance the putty's adhesion to the surface of the bumper. -
Applying plastic putty
Apply a plastic putty, such every bit SINNEK's PP/7832. This blazon of putty provides slap-up filling of cracks and scratches, and excellent sanding and cease smoothness. -
Sanding the putty
Sand the remaining excess plastic putty to level and fifty-fifty the surface. So, in partial repairs, sand the area to repair, and in large repairs, sand the unabridged part. To do this, use a refining sandpaper: P320 / P400. In hard-to-achieve places and nooks, apply a sanding sponge. -
Blowing, cleaning and degreasing
Subsequently sanding, clean the surface of the role thoroughly, again using a plastic degreaser. -
Applying adhesion promoter
Bank check whether the type of plastic of the role is compatible with the direct application of the filler (shown in the technical information canvas). If this is not the case, utilize an adhesion promoter for fast-drying plastics, such every bit SINNEK's PL/1895. If the damaged surface area is not big, yous tin can use a spray-on promoter to be more productive in the repair. Information technology is appropriate not to load likewise much product to prevent any possible paint disengagement or solvent reactions. When applying the production, always follow the specifications provided in the product's technical data sheet in terms of drying time, gun adjustment, etc. -
Applying the primer
To help anchoring the final coat of paint, employ filler to the bumper. Depending on the size of the damage and the type of repair to carry out, yous can choose between different filler processes (in all cases the shade of the chosen filler must match the colour shade of the finish).- Spot Repair: if the surface is not besides large, you lot can use a spray filler, which will assist to optimise the repair time, and will provide adept filling and adhesion.
- Standard process: use a UHS filler, which will provide skillful performance in terms of fast drying and piece of cake sanding.
- Wet on wet procedure: use a moisture on wet filler, which will provide a high quality intermediate coat, reducing the repair time as sanding the surface after its application will non be required.
-
Sanding the filler
Once the filler has dried, sand the surface with a P400 sandpaper (two-coat systems). -
Bravado, cleaning and degreasing
One time once more, clean and degrease the whole function thoroughly. -
Texture application (optional)
If the surface has textured areas that are typical of this type of part, use a textured paint for bumpers, which will go out a satin cease like to the original. To accomplish this result, you can use the textured bumper paint PL/7870 by SINNEK. -
Applying the finish paint
And so, apply the final finish pigment. Apply colour and clear coat to the part, always post-obit the specifications of the technical data canvas, and other factors such as the choice of hardener and the room temperature and humidity.
Conclusion
Without a doubt, a correct bumper repair and painting volition directly influence the productivity and profitability of the bodywork and paint shop, mainly considering this is a very usual type of repair in the day-to-day work of a professional. Have into account the specific characteristics of plastic materials in bodywork, and follow the steps described, and yous volition be sure to achieve a professional person quality finish.

Source: https://academy.sinnek.com/en/painting-and-repairing-a-bumper-full-process-step-by-step/
Posted by: millersircond.blogspot.com
0 Response to "How Long Does It Take For Paint To Dry On A Car Bumper"
Post a Comment